


If you want to begin building applications with .NET, here is a quick and simple guide to get you started. Here’s a clean, ready-to-share post/tutorial that explains how to download .NET and run the commands you listed.
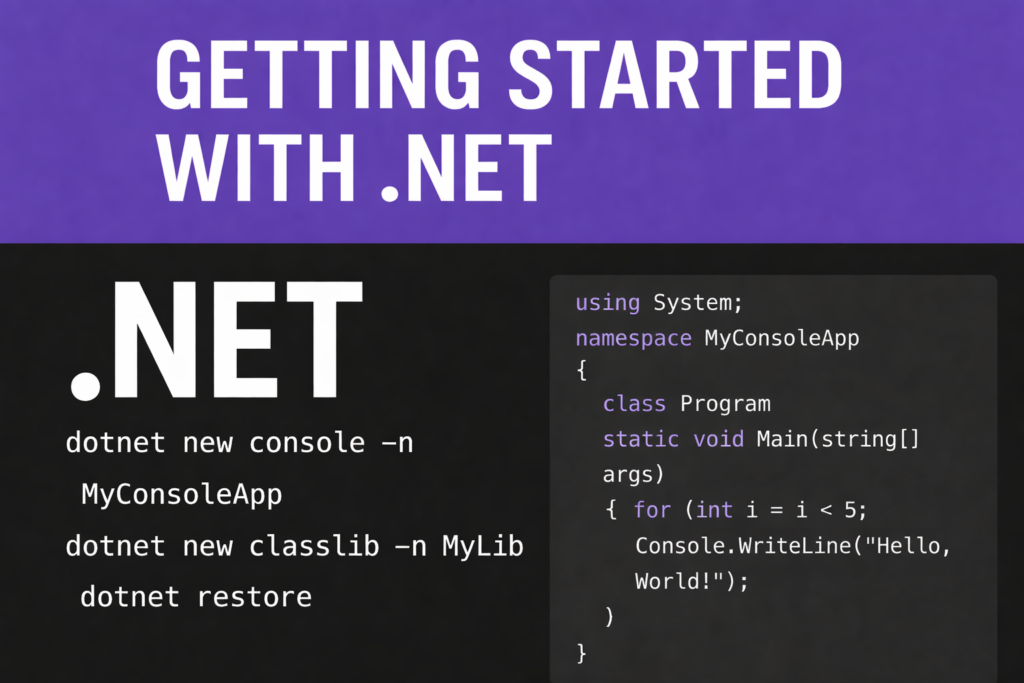
Getting Started with .NET — Install, Create, Restore, Debug & Run Projects
If you want to begin building applications with .NET, here is a quick and simple guide to get you started.
✅ 1. Download & Install .NET SDK
To build and run .NET applications, you must install the .NET SDK. Download from the official Microsoft page: https://dotnet.microsoft.com/download Choose the version for your OS (Windows / Linux / macOS) and install it. After installation, verify it by running:
dotnet --version
You should see the installed version printed.
✅ 2. Create New .NET Projects
Create a Console Application
dotnet new console -n MyConsoleApp
This creates a folder named MyConsoleApp containing Program.cs.
Here’s an example Program.cs you can use inside MyConsoleApp:
using System; namespace MyConsoleApp { class Program { static void Main(string[] args) { for (int i = 0; i < 5; i++) { Console.WriteLine("jai shreee ram!"); } Console.WriteLine(“Hello, World!”); } } }📌 Create a Class Library
dotnet new classlib -n MyLibrary
This creates a reusable class library project.
✅ 3. Restore Dependencies
Before building or running your project, restore packages:
dotnet restore
This ensures all required NuGet packages are installed.
🚧 4. Debug the Code
- If you’re using VS Code:
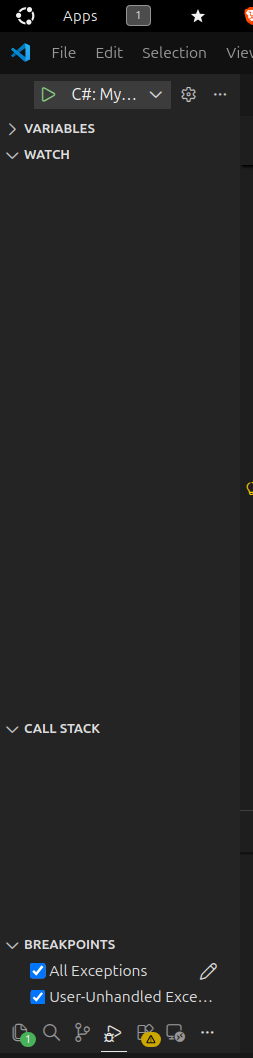 Install the C# Dev Kit extension.
 - Open your project folder.
- Press F5 to start debugging.
- Set breakpoints wherever you want to inspect the code.
▶5. Run the Application
To execute your console app:
dotnet run
If you have multiple projects, run a specific one:
dotnet run --project MyConsoleApp
6. After Editing Your Code
Whenever you modify your .cs files:
- Save your changes
- Use Step 4 (Debug) to test it with breakpoints
- Or use Step 5 (Run) to execute the updated code
No need to re-create or re-restore — just debug or run again!
You’re Ready to Build with .NET!
You now know how to: ✔ Install .NET ✔ Create console & library projects ✔ Restore dependencies ✔ Debug applications ✔ Run your code

Really insightful to get started with .net. Wish to get content on AI related things too